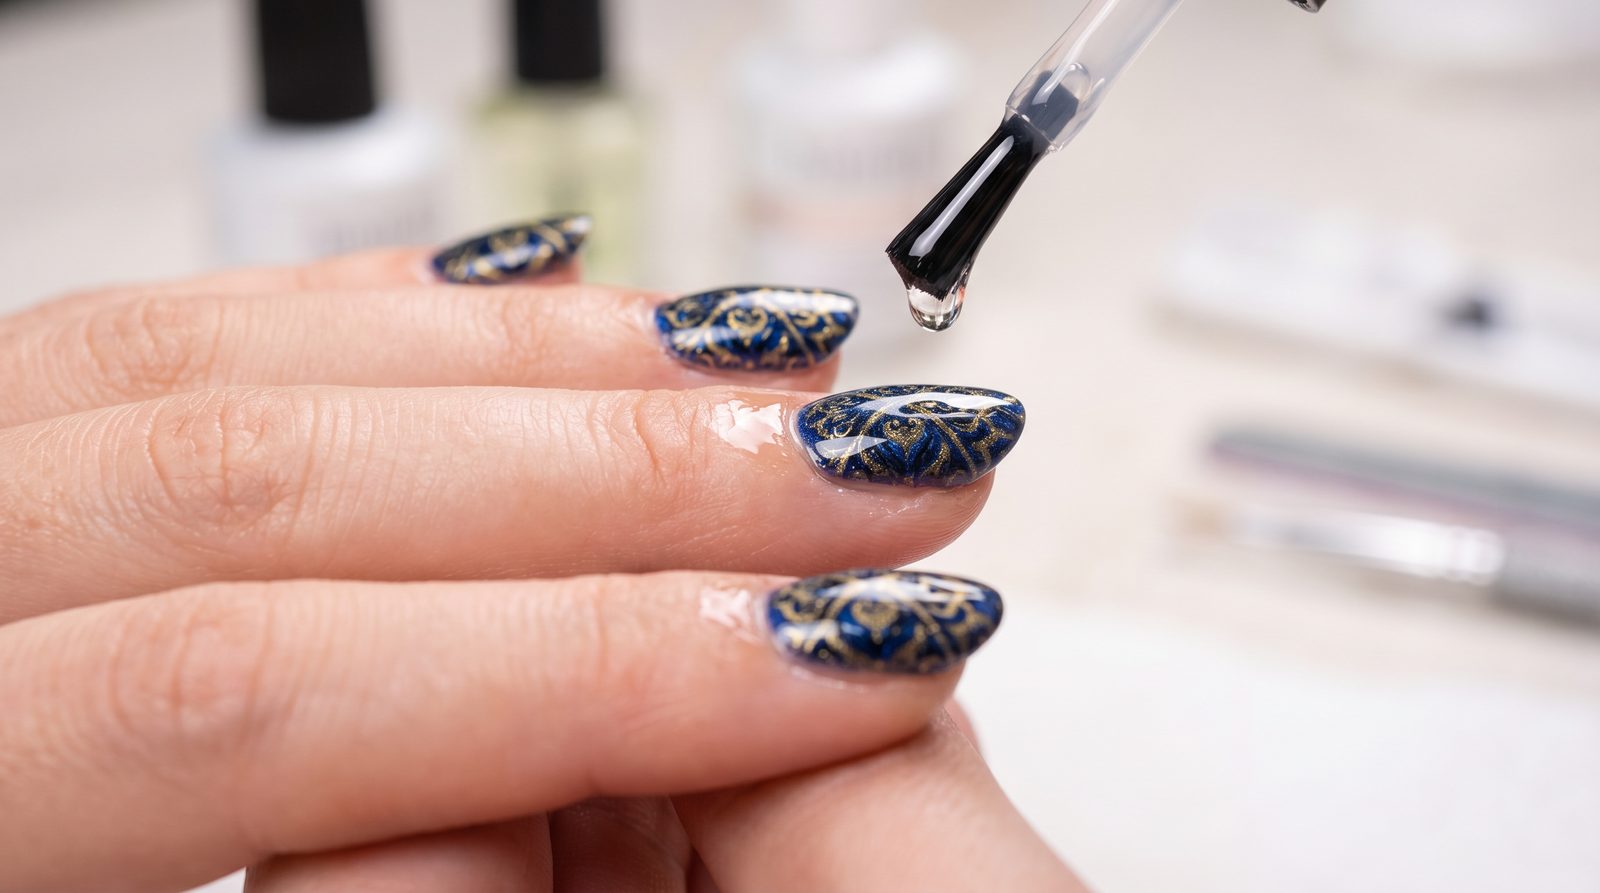
Nail art takes time, and time is money. Whether you are a mobile tech hustling between appointments, a salon owner looking to maximize chair turnover, or a dedicated hobbyist perfecting your craft at home, the last thing you want is for a stunning design to chip or fade prematurely. You have invested in cutting-edge technology to cut your nail-art time by 80%, printing flawless designs in just 30 seconds per nail. But the magic does not stop at the printer. The secret to turning a quick print into a durable, premium service lies in the final step: the top coat. In this guide, we will explore exactly how to seal your printed nail art for maximum longevity, ensuring your clients return with their designs still looking pristine.
What is the Best Top Coat for Printed Nails?
The ideal top coat for printed nails is a two-step sealing process using a specialized print-sealing gel followed by a durable, non-wipe tempered gel top coat.
When you print a design using an O'2Nails machine, the ink sits on top of the base color and print gel. To protect this micro-thin layer of ink, you must first encapsulate it. A standard top coat applied directly over the raw ink can sometimes cause micro-smudging or fail to adhere properly to the printed surface. Therefore, the industry standard for digital nail art is to first apply a thin layer of a dedicated sealing gel (often referred to as a base gel or clear builder gel) to lock the ink in place. Once cured, you finish with a high-gloss, non-wipe top coat. Tempered top coats are highly recommended because they offer superior scratch resistance and a glass-like finish that enhances the vibrancy of the 1,000+ designs available in the O'2Nails cloud library.
How Does Top Coat Selection Impact Business ROI?
Choosing the right top coat directly impacts your bottom line by reducing service complaints, increasing client retention, and justifying premium pricing for printed nail art.
When a client pays a premium for custom, intricate nail art, their expectation is that it will last until their next fill. If the top coat fails, the design chips, leading to free repairs and dissatisfied customers. By utilizing a robust sealing method, you guarantee a 3-to-4-week wear time. This reliability allows you to confidently charge an additional $10 to $30 per set for custom printed art. With an O'2Nails printer like the V11 or X11 Plus, you are already achieving a +30% per-chair revenue uplift. Securing that revenue with a reliable top coat ensures your profit margins remain intact and your reputation as a high-end service provider grows.
| Metric | Standard Polish Top Coat | Premium Gel Sealing System |
|---|---|---|
| Wear Time | 5-7 Days | 3-4 Weeks |
| Smudge Risk on Ink | High | Zero (when cured properly) |
| Finish | Dull over time | High-gloss, scratch-resistant |
| Client Retention Impact | Low to Negative | High (builds trust and loyalty) |
How to Properly Seal Printed Nail Art in Practice
Sealing printed nail art requires a specific sequence to ensure the ink is fully protected and the final nail structure is sound.
In our experience working with Canadian salons and mobile techs, the most common mistake is rushing the final cure. After the O'2Nails printer completes its 30-second print cycle, you must allow the ink to dry completely. The printer has a built-in fan, but waiting an extra 30 to 60 seconds ensures no moisture remains. Next, apply a thin, even layer of clear sealing gel or base gel directly over the design, floating the brush slightly to avoid dragging the ink. Cure this layer fully under your LED/UV lamp. Finally, apply your premium non-wipe top coat, capping the free edge meticulously to prevent lifting. Cure one last time, and the nail is finished—durable, glossy, and ready to impress.
Why Choose NailPrinter.ca?
When you partner with NailPrinter.ca, you are not just buying a machine; you are investing in a complete, proven system for digital nail art success.
As the authorized North American distributor for O'2Nails, we provide everything you need to seamlessly integrate nail printing into your workflow. From the portable M1 ($899) perfect for hobbyists, to the robust X11 Plus ($2,499) designed for premium studios, we have a solution for every tier of the industry. We offer in-region Canadian inventory, meaning no long international shipping delays or surprise customs fees. Every machine comes with a 1-year warranty and free onboarding to ensure you master the printing and sealing process from day one. Plus, with Affirm and Shop Pay financing, upgrading your salon's technology has never been more accessible. Compare Machines page
Conclusion
The best top coat to seal printed nail art is a combination of a clear encapsulating gel and a premium, non-wipe tempered top coat. By mastering this simple sealing technique, you protect your digital designs, ensure weeks of flawless wear, and maximize the ROI of your O'2Nails printer. Ready to elevate your nail art game and cut your service time by 80%? Explore our full range of professional nail printers and find the perfect fit for your business. Shop the Lineup