If your printed nail art is coming out streaky, faded, or smudged, the problem almost always starts with the base. Nail printers do not print on bare nails or on top of ordinary colored gel polish — they require a specific two-layer foundation to work correctly. In this guide, we break down exactly which base coats work with O'2Nails printers, which to avoid, and why the included PG4 Print Gel is the single most important product in your kit.
What Base Coat Should I Use with an O'2Nails Printer?
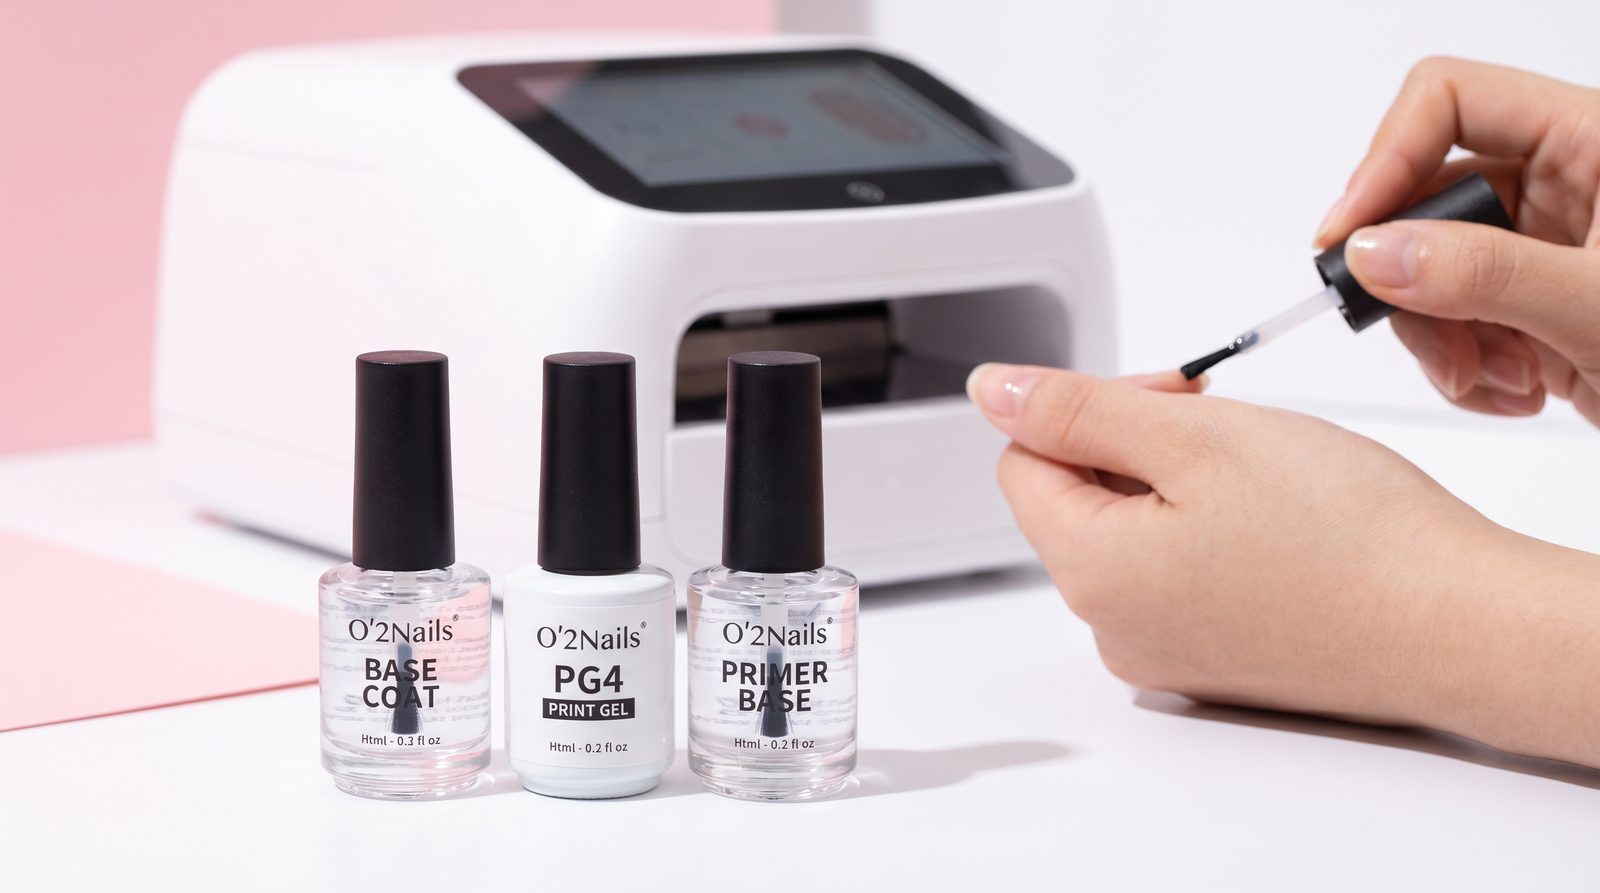
You should use any standard clear gel base coat as the first layer, then apply O'2Nails PG4 Print Gel as the second layer directly before printing. The PG4 is a matte, ink-receptive coating designed specifically to grip inkjet ink.
In our experience working with Canadian salons, this two-layer foundation is non-negotiable for professional-grade results. The clear gel base coat bonds the entire system to the natural nail and prevents lifting. The PG4 Print Gel sits on top and provides a uniform, slightly porous surface that accepts the ink cleanly, the same way special inkjet photo paper accepts printer ink better than copier paper.
The O'2Nails PG4 Print Gel is included with every Printers collection page printer we sell at NailPrinter.ca, so every new buyer gets everything they need out of the box.
Can I Skip the Print Gel and Just Use a Normal Base Coat?
No. Skipping the Print Gel is the single most common reason new users get disappointing results. A standard gel base coat is formulated for adhesion, not for ink acceptance. Ink applied directly to a cured gel base will bead up, spread unevenly, and produce a blurry design.
| Layer | Product | Purpose | Cure Before Printing? |
|---|---|---|---|
| Layer 1: Base | Any clear gel base coat | Bond to natural nail | Yes, cure fully |
| Layer 2: Print Gel | O'2Nails PG4 | Ink-receptive surface | No — leave tacky |
| Layer 3: Ink | FM10 cartridge ink | The design itself | No — prints on tacky PG4 |
| Layer 4: Top Coat | Any gel top coat | Seal and protect | Yes, cure fully |
The critical detail most beginners miss: the PG4 Print Gel stays tacky and uncured when you print. The printer deposits ink onto this wet layer, and the top coat seals everything at the end.
How to Prep Nails Before Using a Nail Printer
A professional printed manicure follows the same prep discipline as any gel service. Start by pushing back cuticles and lightly buffing the nail plate to remove shine — this improves adhesion. Wipe the nail with alcohol or a dehydrator to remove oils. Apply your chosen clear gel base coat in a thin, even layer and cure under an LED lamp for 30 to 60 seconds depending on your lamp's specifications.
Once the base is fully cured, brush on a thin, even layer of PG4 Print Gel. Do not cure it. Place the finger into the printer within a few minutes so the PG4 does not dry out, then print your design. Immediately after printing, apply your top coat directly over the printed ink and cure for 60 seconds to seal.
What About Colored Base Coats?
You can absolutely print over a colored base coat, and many pro salons do exactly this for richer, more dimensional designs. If you want a pink floral design on a nude base, apply your colored gel first and cure it normally. Then apply the PG4 Print Gel over the cured color, and print on top. The ink is semi-translucent, so lighter base colors produce the most vibrant results, while darker bases mute the printed design intentionally — a look some clients prefer.
Why Choose NailPrinter.ca?
Every O'2Nails printer sold by NailPrinter.ca ships with the exact PG4 Print Gel, FM10 cartridge, and LED curing lamp needed to start printing on day one. We are the authorized North American distributor, meaning our consumables are genuine O'2Nails supplies — not counterfeit gels sold by gray-market resellers that can damage the printhead and void your warranty.
When you order from us, you get Canadian warehouse inventory, a 1-year manufacturer warranty, free onboarding to walk your team through the exact prep-and-print sequence, and Affirm or Shop Pay financing at checkout.
Get the Right Start with Genuine Supplies
Don't let a wrong base coat sabotage a $1,500+ machine investment. Stick to the two-layer system — clear gel base plus O'2Nails PG4 — and your prints will look like the marketing photos from day one.
Accessories page Browse our full range of genuine O'2Nails consumables, or Contact page contact our team if you need help selecting the right base coat for your salon's existing gel system.
---
Frequently Asked Questions
What base coat should I use with O'2Nails? Use any standard clear gel base coat as the first layer (fully cured), then apply O'2Nails PG4 Print Gel as the second layer immediately before printing. The PG4 must remain uncured and tacky when you print.
Can I use regular nail polish instead of gel under a nail printer? No. Regular nail polish is not compatible with the printing process. You need a cured gel base so the ink-receptive PG4 layer has a stable surface, and so the final design can be sealed under gel top coat and cured.
Do I need to cure the PG4 Print Gel before printing? No. The PG4 must stay tacky and uncured when the printer deposits ink. You only cure after the ink is printed and the gel top coat is applied on top.