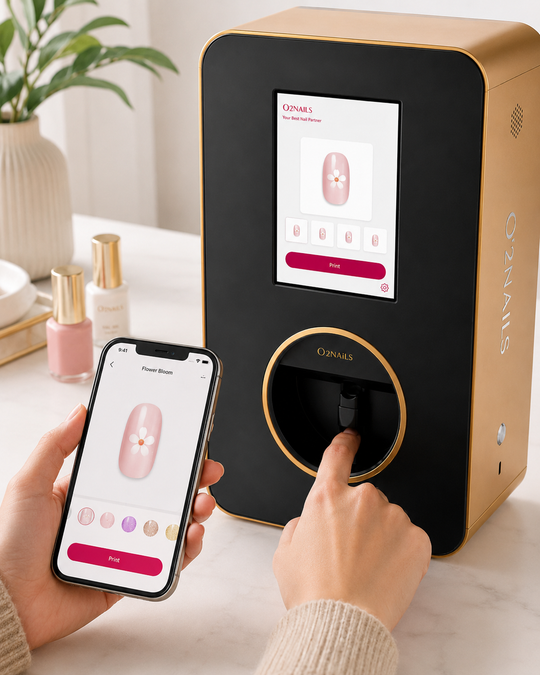
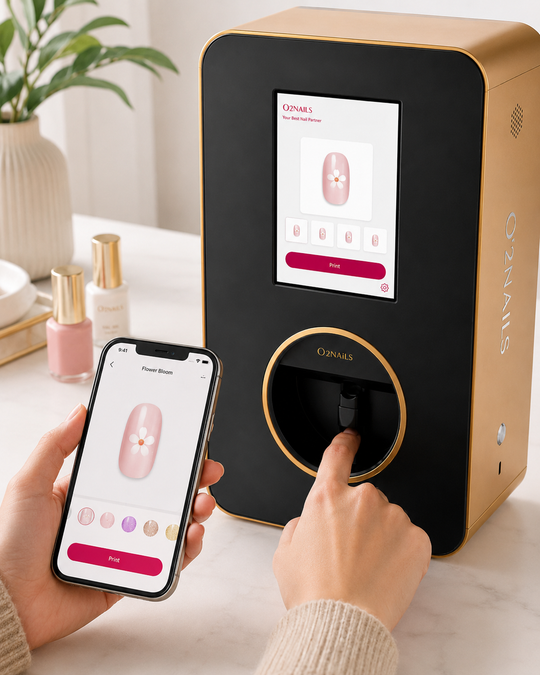
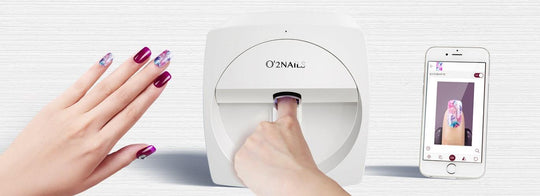
The full process for printing on gel (O'2Nails-aligned)
- Prep the nail. File, push back cuticle, lightly buff. Same as your usual gel set.
- Apply base coat gel. Cure under UV/LED.
- Build if needed (builder / BIAB / structured gel). Cure. This strengthens the nail; it is not the final print canvas.
- Apply base colour gel. For full-colour art, use an opaque light colour (often white or very pale). O'2Nails describes colour gel as the base colour for the printing pattern. Dark bases make colour ink look muddy — plan a light canvas, or keep the design as a dark graphic on that light canvas. Cure fully.
- Apply print gel (pre-print coat). Required in the O'2Nails workflow so the surface absorbs ink. Follow thickness guidance from training / official tutorials (darker patterns often need a thicker print-gel pass). Cure or flash as your print-gel instructions say.
- Wipe the inhibition layer if your gels leave one. Use 70%+ isopropyl alcohol. Sticky residue smears ink — this step stays non-negotiable.
- Place the finger and print. Use the V11 app or the X12.5 touchscreen.
- Apply gel top coat over the dry print with a light hand. Use a quality gel top coat applied with a light hand. Print gel is the specialised prep step; top coat is the seal.
- Cure top coat per the top coat’s instructions.
Exact cure times and gel SKUs ship with your machine and Owner Start materials. If your launch kit lists PG4-class print gel and base colour gel, use those for the print steps above.
Why gel is the best surface for nail printing
- Flat surface. Cured gel is harder and more consistent than natural nail, so the print head's auto-alignment has a predictable canvas.
- No ink absorption. Gel doesn't absorb the ULV ink — it sits cleanly on top.
- Top coat compatibility. A quality gel top coat seals the print. Print gel is the specialised prep step; top coat is the seal.
- Durability stack. Base gel + color gel + print + top coat gel creates a 4-layer protective stack. Holds 10–14 days easily.
Gel vs other surfaces
| Surface | Compatibility | Longevity | Notes |
|---|---|---|---|
| Cured gel | Ideal | 10–14 days | Wipe inhibition layer first |
| Natural nail | Good | 5–7 days | Wears faster without base coat |
| Acrylic | Good | 10–14 days | File flat first; finish with gel top coat |
| Dip powder | Good | 10–14 days | After activator dries |
| Press-on / tip | Excellent for bulk | N/A (until stuck on) | Many creators bulk-print blanks |
Builder gel / hard gel / structured gel
Compatible as structure — not as the ink layer by itself. Builder, hard gel, and BIAB give a stronger, flatter platform, which helps the print head. O'2Nails still places colour gel and print gel above that structure before the print pass. Sheer BIAB clients who want to keep only a translucent pink look need a sample first: full-colour prints usually need an opaque light layer on top, which changes the sheer aesthetic. Details and who should skip the printer: what a nail printer can't print on.
The one thing salons get wrong
Skipping the inhibition layer wipe. Gel polish leaves a sticky residue after cure (“inhibition layer”) that smears ink on contact. Always wipe with 70%+ isopropyl alcohol before placing the finger in the printer. This is the leading reason a print looks blurry the first time a salon uses the machine. Second most common miss: skipping print gel or printing full-colour art on a dark base. Flat gel is not enough — the ink still needs the receptive, light stack O'2Nails documents.
FAQ
Do I need a special gel for nail printing?
You need a print gel / pre-print coat in the O'2Nails workflow, plus a sensible base colour under full-colour designs. O'2Nails documents and ships print gel for a reason. Your usual salon base and top coats still matter for adhesion and seal — “special” here means add the print layer, not throw away your whole gel brand.
Can I print directly on top of unmodified gel polish?
Not if “unmodified” means skipping print gel and ignoring base colour. After a proper light canvas and print gel (and an inhibition wipe when needed), cured gel is an excellent platform. Printing colour straight onto a dark, unmodified gel polish is how salons get muddy first prints.
Will the print smear when I apply top coat?
No, as long as the printed ink is fully dry (it sets within seconds of printing) and you apply the top coat with a light hand. Don't drag the brush back over the same area.
How long does a printed design on gel last?
10–14 days with a quality gel top coat. The top coat is what protects the design.
Can I use the printer with builder gel or structured gel?
Yes — as the strengthen layer. Add the printable stack (light base colour when needed + print gel) on top, then print and seal. Builder gel is not a shortcut past print gel.
Can I print on dark gel or sheer BIAB?
Not as a direct colour dump onto that layer. Use a light opaque base and print gel for colour art. Sheer BIAB alone is structure, not the canvas. Full limits: what a nail printer can't print on.
What about long or stiletto nails?
Very long free edges can sit outside the printable window. Keep the art inside the window and finish the tip by hand if needed. Confirm the printable window in training / Owner Start — do not invent centimetre limits on this page.